Viewing
This section has tools you can use to more easily view your numbers.
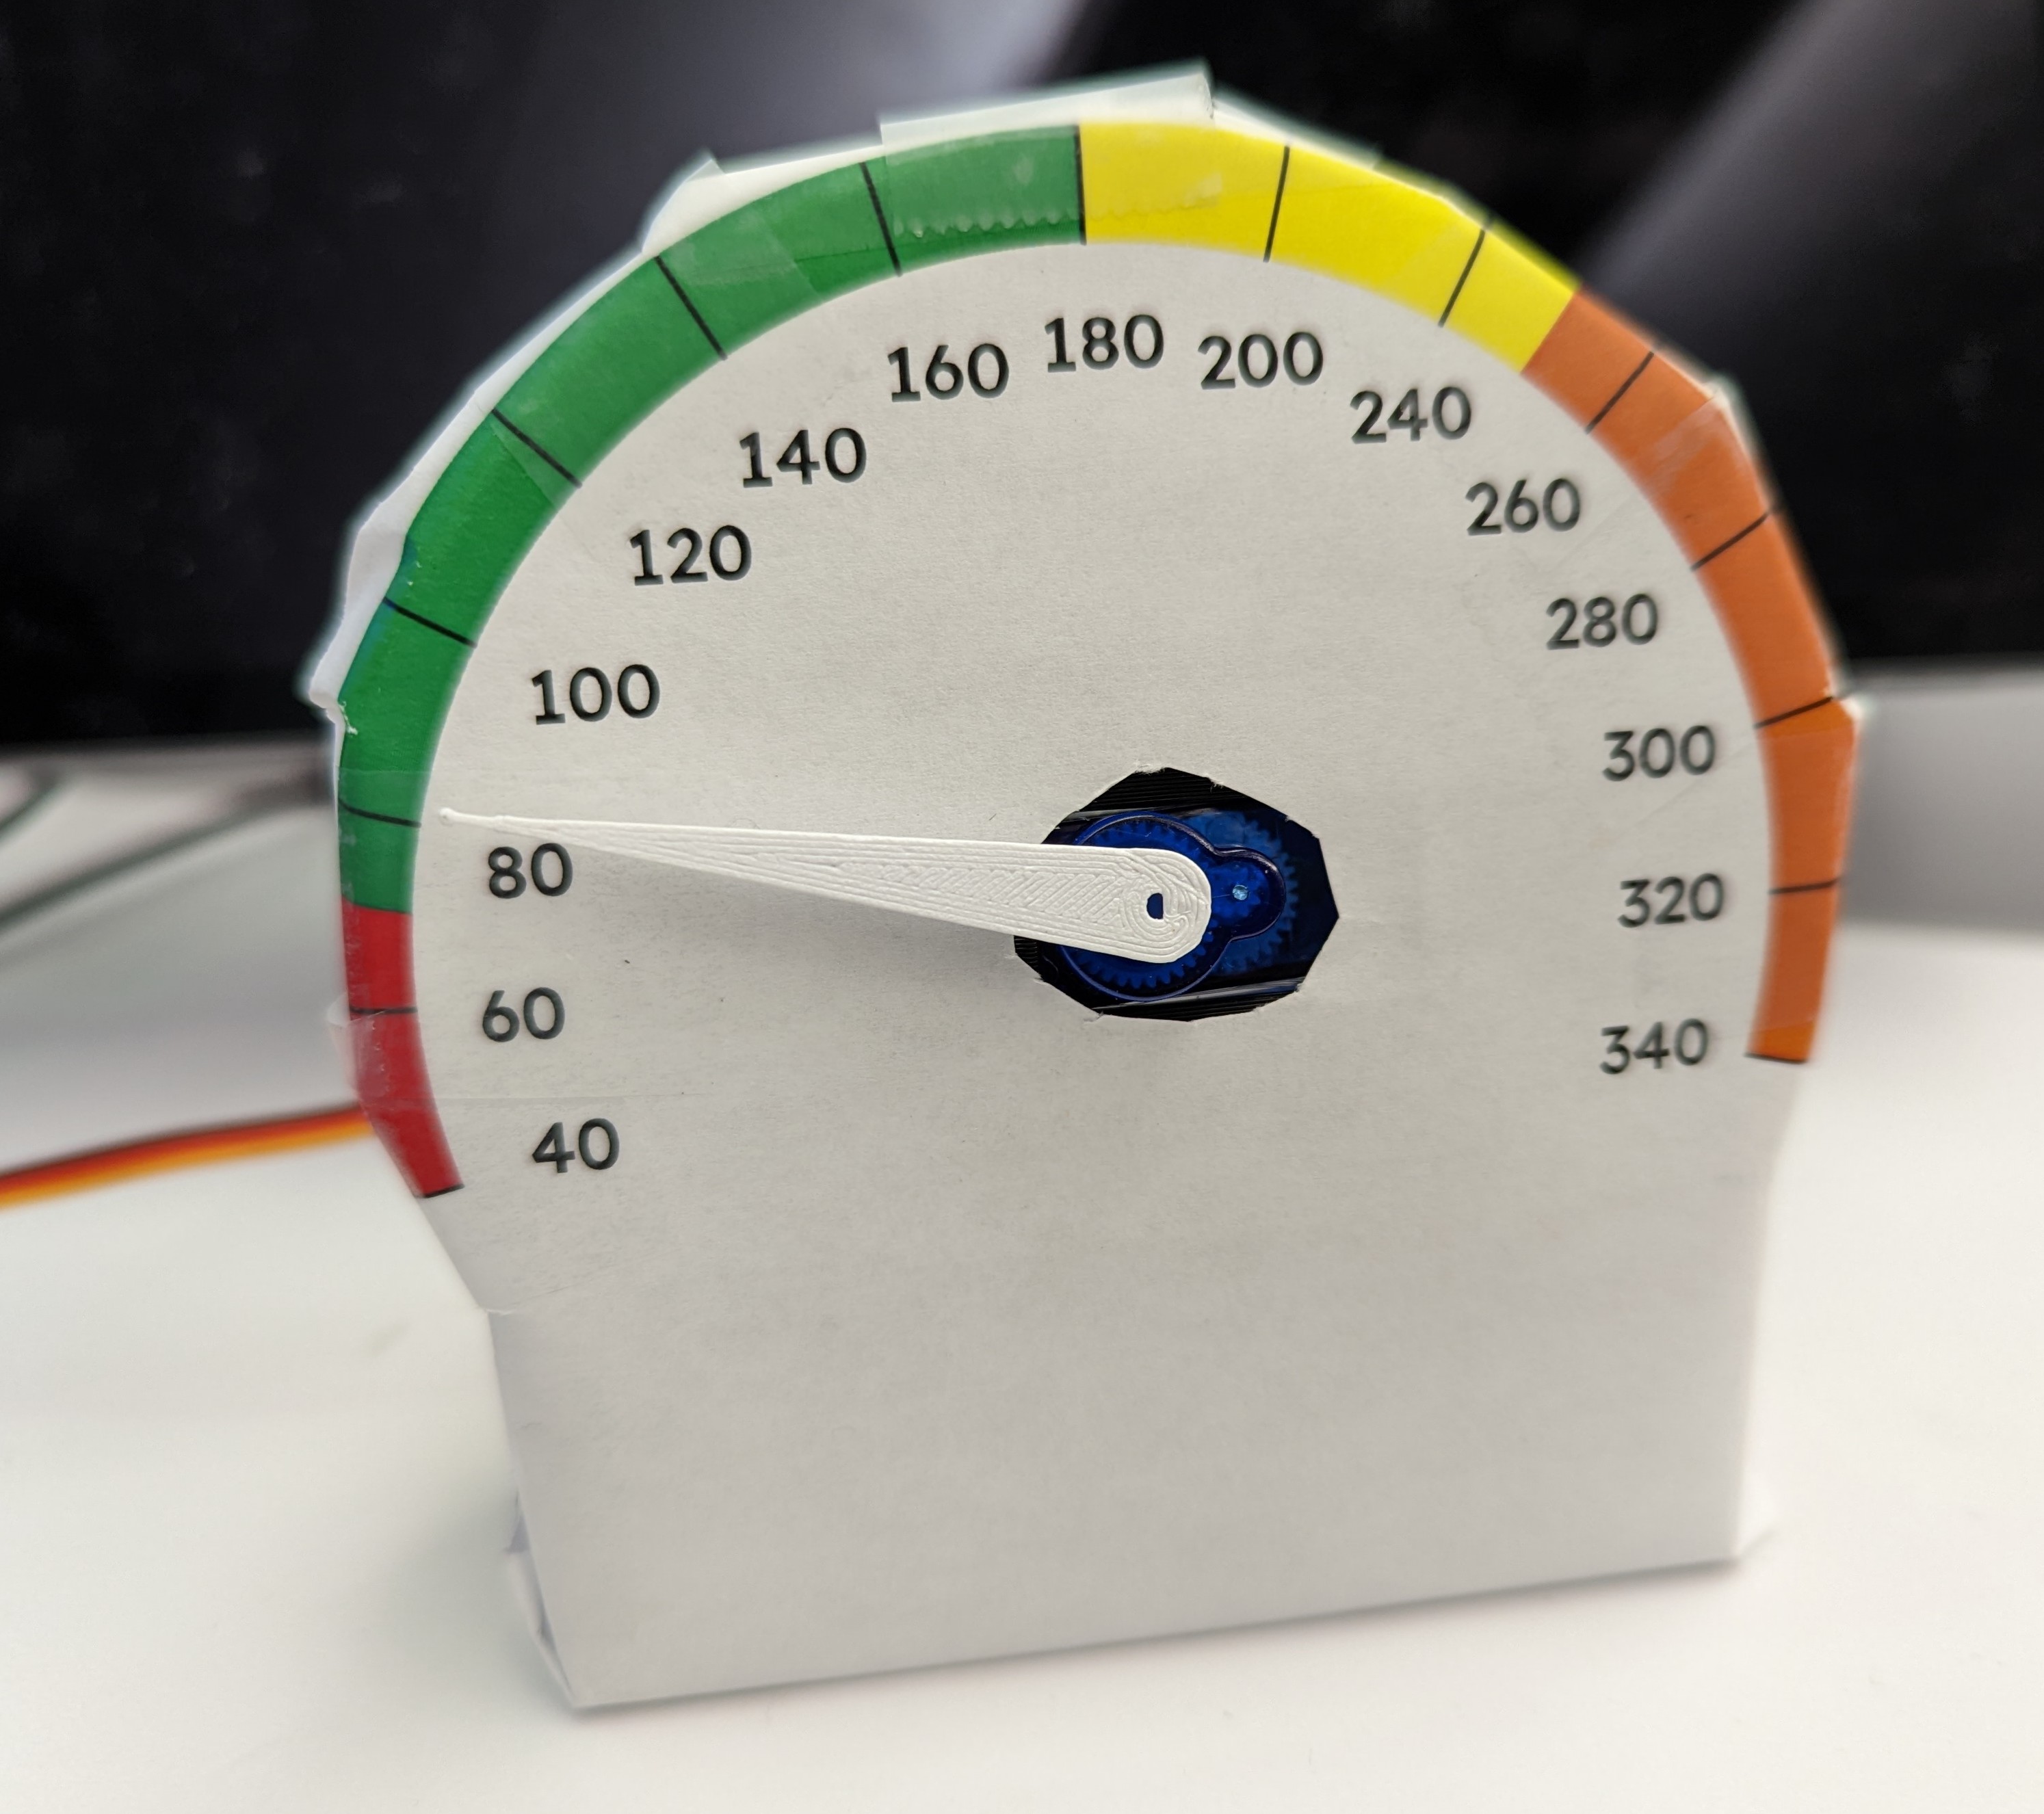
Dial
This device is an "analog"-style dial that shows your latest reading.
Enclosure
Dial
Here are different size dial "needles":
STL - 30mm
STL - 40mm
STL - 60mm
Microcontroller
I used a SeeedStudio Xiao ESP32-C3, though you can use almost any ESP32 or ESP8266 or Raspberry Pi Pico W board.
It's running ESPHome, an easy way to program microcontrollers using only a text configuration file.
You don't need Home Assistant, though it's a nice-to-have. [Here] is SeeedStudio's tutorial for installing ESPHome on the Xiao ESP32-C3 module, though not all of those steps are necessary (I certainly didn't).
Once you create your device in ESPHome, you will have the opportunity to update the YAML (Yet Another Markup Language) file. Here's the template that I used:
esphome YAML - be sure to update your NightScout URL where it says YOUR-NIGHTSCOUT-URL-HERE, and use the values for API encryption key, OTA password, and WiFi AP password that were generated for you from by esphome template
Components
Servo
The template above fits an SG-90 (or SG-92, AFAICT the only difference is one has metal gears) though you may (of course) update the print to use any standard RC servo. It doesn't need to be fast or powerful. The cheaper one I used has some hysteresis (moving forwards and backwards to the position isn't particularly accurate) which is unfortunate but not too bad.
Hookup
The microcontroller gets power via it's USB-C port. Any USB-C power supply is fine.
The servo is connected as follows: GND -> GND +5V -> either +5V or +3.3v pin on microcontroller. The servo may actually run on 3.3v, though not as "fast". This enables the option of using battery power (later).
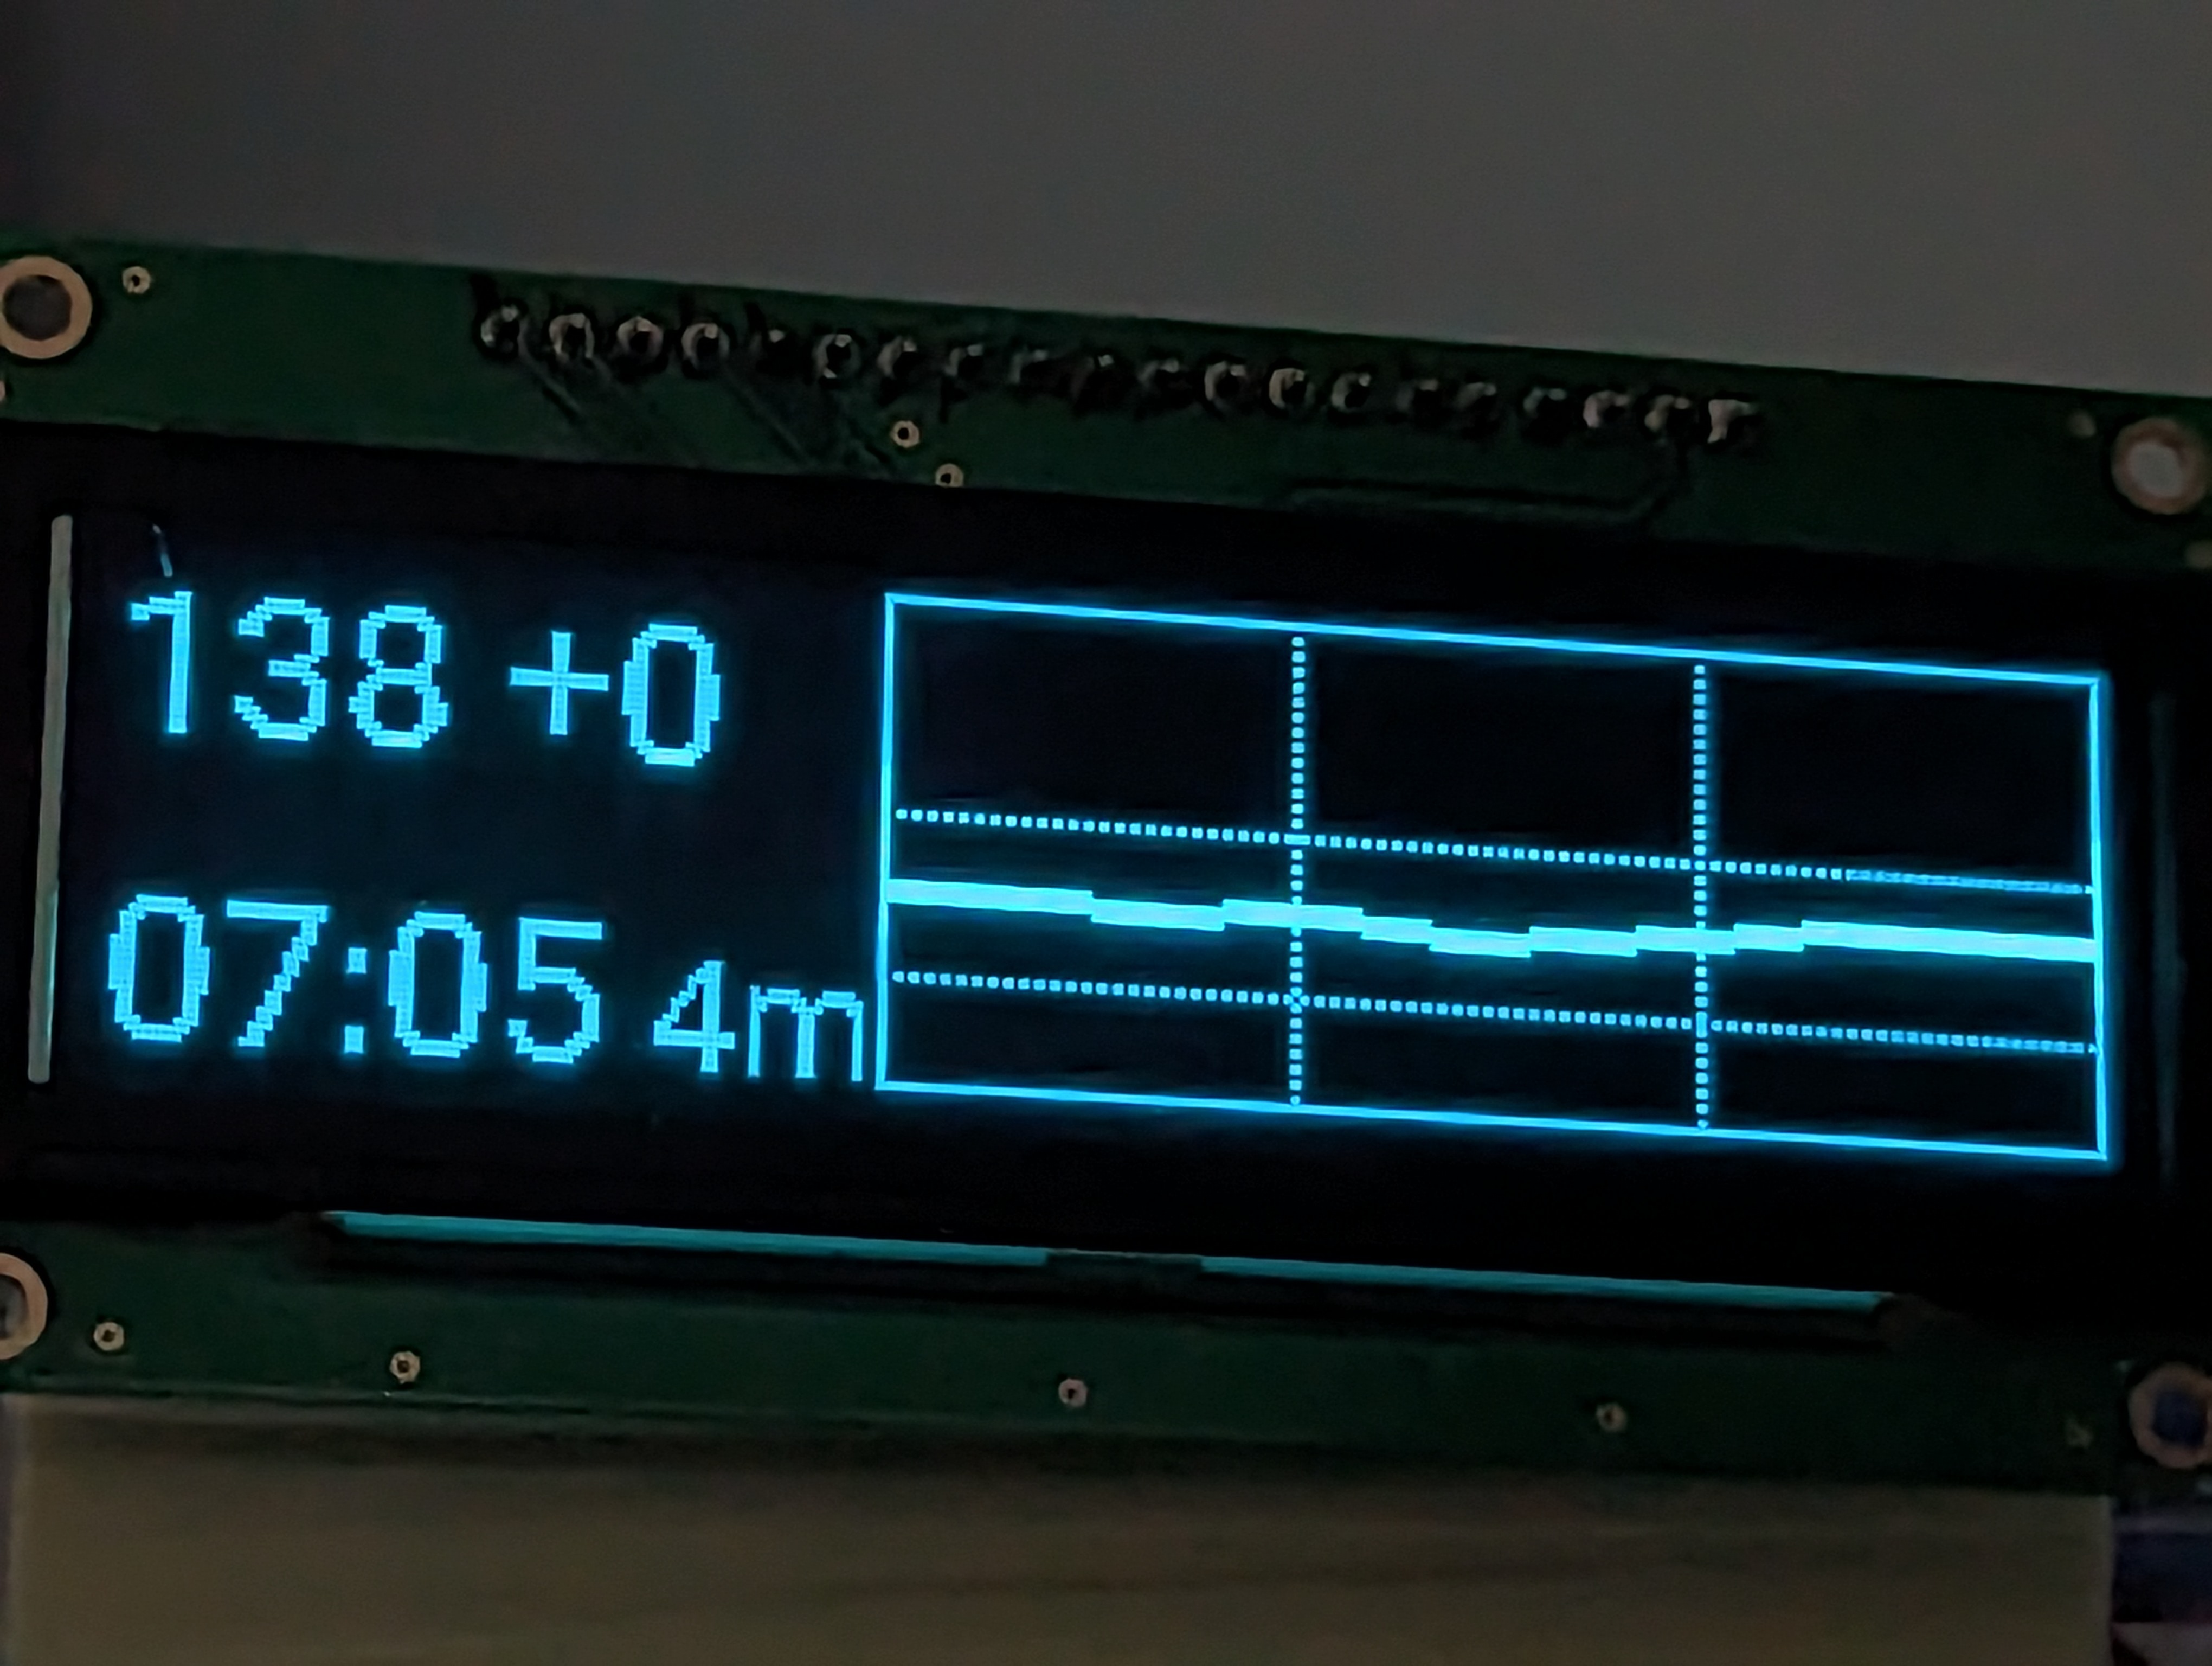
Display
This is an OLED display (but can be e-paper as well) that shows current status and history graph
Enclosure
WIP :)
Microcontroller
I used a SeeedStudio Xiao ESP32-C3, though you can use almost any ESP32 or ESP8266 or Raspberry Pi Pico W board.
It's running ESPHome, an easy way to program microcontrollers using only a text configuration file.
You don't need Home Assistant, though it's a nice-to-have. [Here] is SeeedStudio's tutorial for installing ESPHome on the Xiao ESP32-C3 module, though not of those steps are necessary (I certainly didn't).
Once you create your device in ESPHome, you will have the opportunity to update the YAML (Yet Another Markup Language) file. Here's the template that I used:
esphome YAML - be sure to update your NightScout URL where it says YOUR-NIGHTSCOUT-URL-HERE, and use the values for API encryption key, OTA password, and WiFi AP password that were generated for you from by esphome template
Components
For the display I used this display but you can use ~any that's supported by ESPHome, see e.g. here for a list of controller chips, and then can Google for displays that use it
Alternatively, an e-paper display can be used, with some minor updates to the ESPHome YAML
Hookup
Depending on your specific display and chip, just update the YAML with the pin configuration you used. If your chip has hardware SPI, that may make things slightly more efficient.
The NewHaven display I used ran just fine on 3.3v from the regulator on the the Xiao ESP32-C3 module.
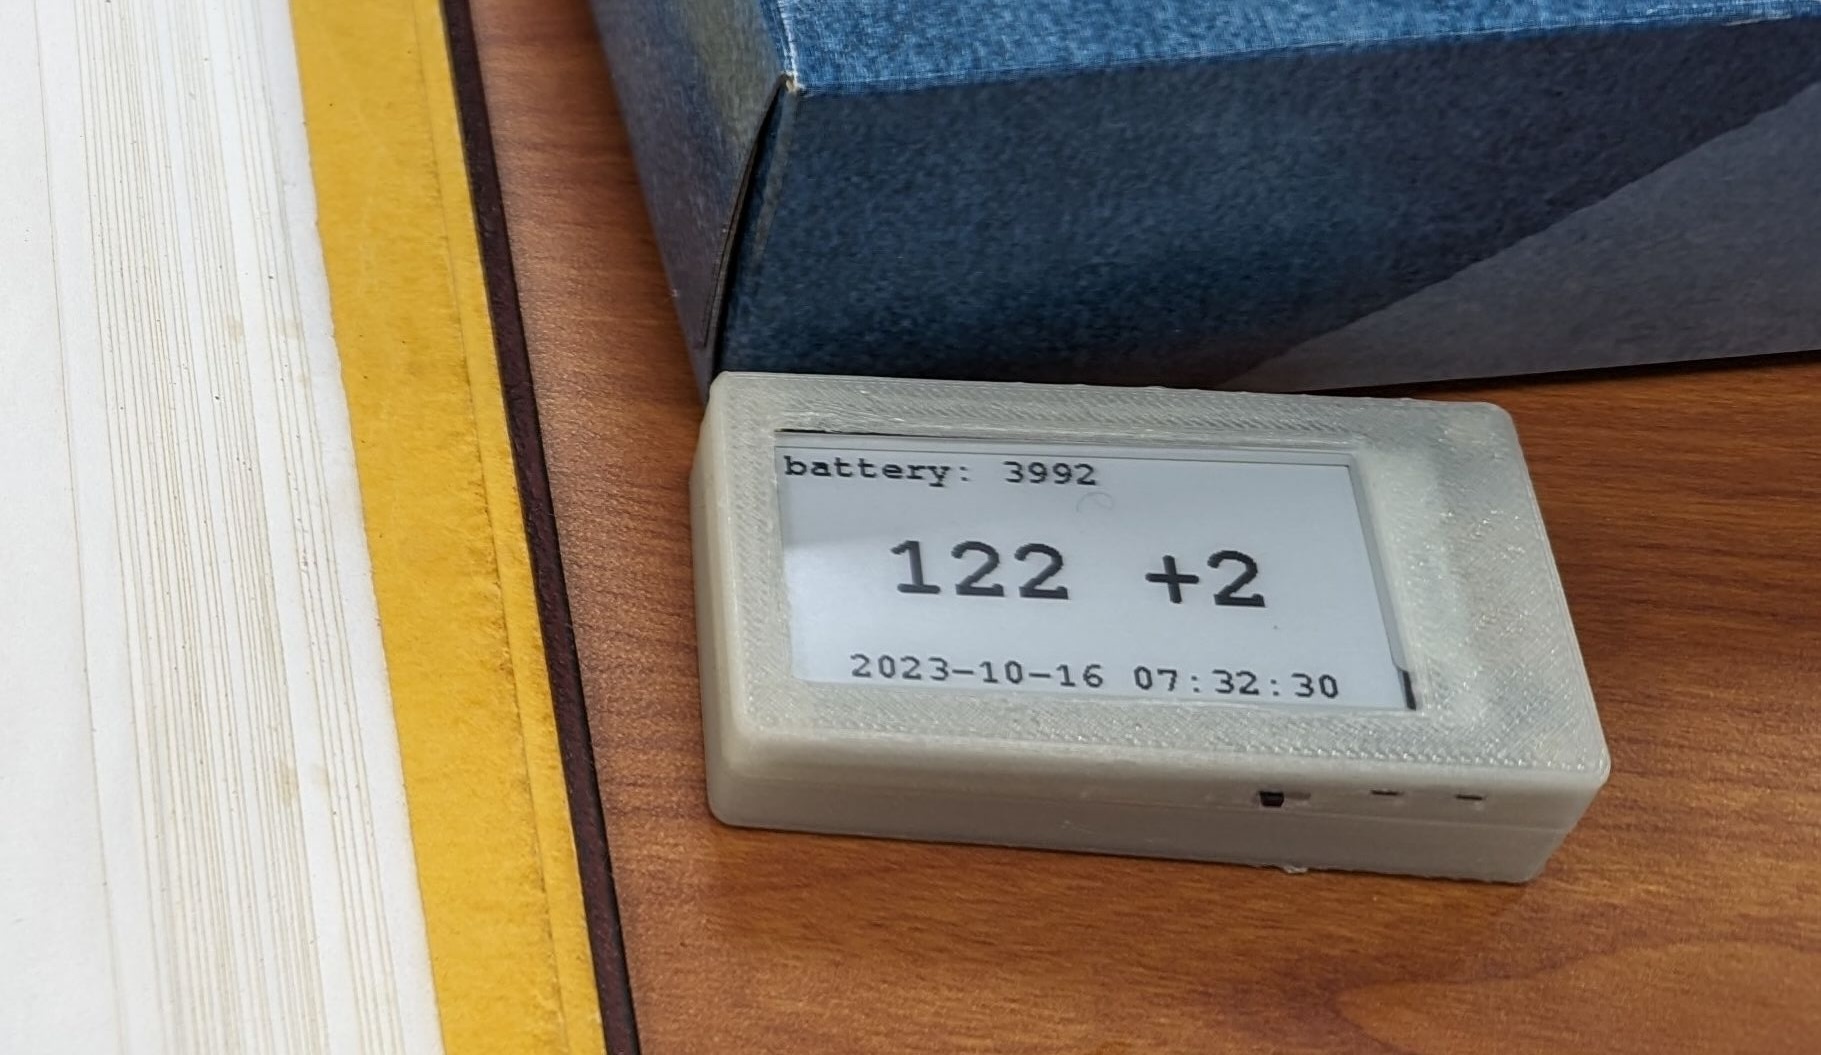
E-Paper Module
This is a small device that displays some basic info on an easy to read e-paper display. Lasts a few days on a battery charge (can be extended with better software), and readable in any light. Does not give off its own light so cannot be read at night.
Enclosure
Choose your favorite from Thingiverse. I chose this one.
Module
It's the LilyGo T5. Just look for 2.13" epaper modules on AliExpress.
Battery
Anything with a 1.25mm JST-PH 2-pin connector should work. The LilyGo kit comes with an adapter but you'll have to connect it to your own battery, or get a matching battery; this one should match, just choose the correct connector.
Source code
The code is in this GitHub repo.
This is direct Arduino code, not using esphome like the others. This is because the esphome drivers for the e-paper display weren't great - they didn't sleep the display when they should have, for example (or perhaps I just wasn't using it quite right).
I borrowed significant concepts from this weather display; used with explicit permission given citation.
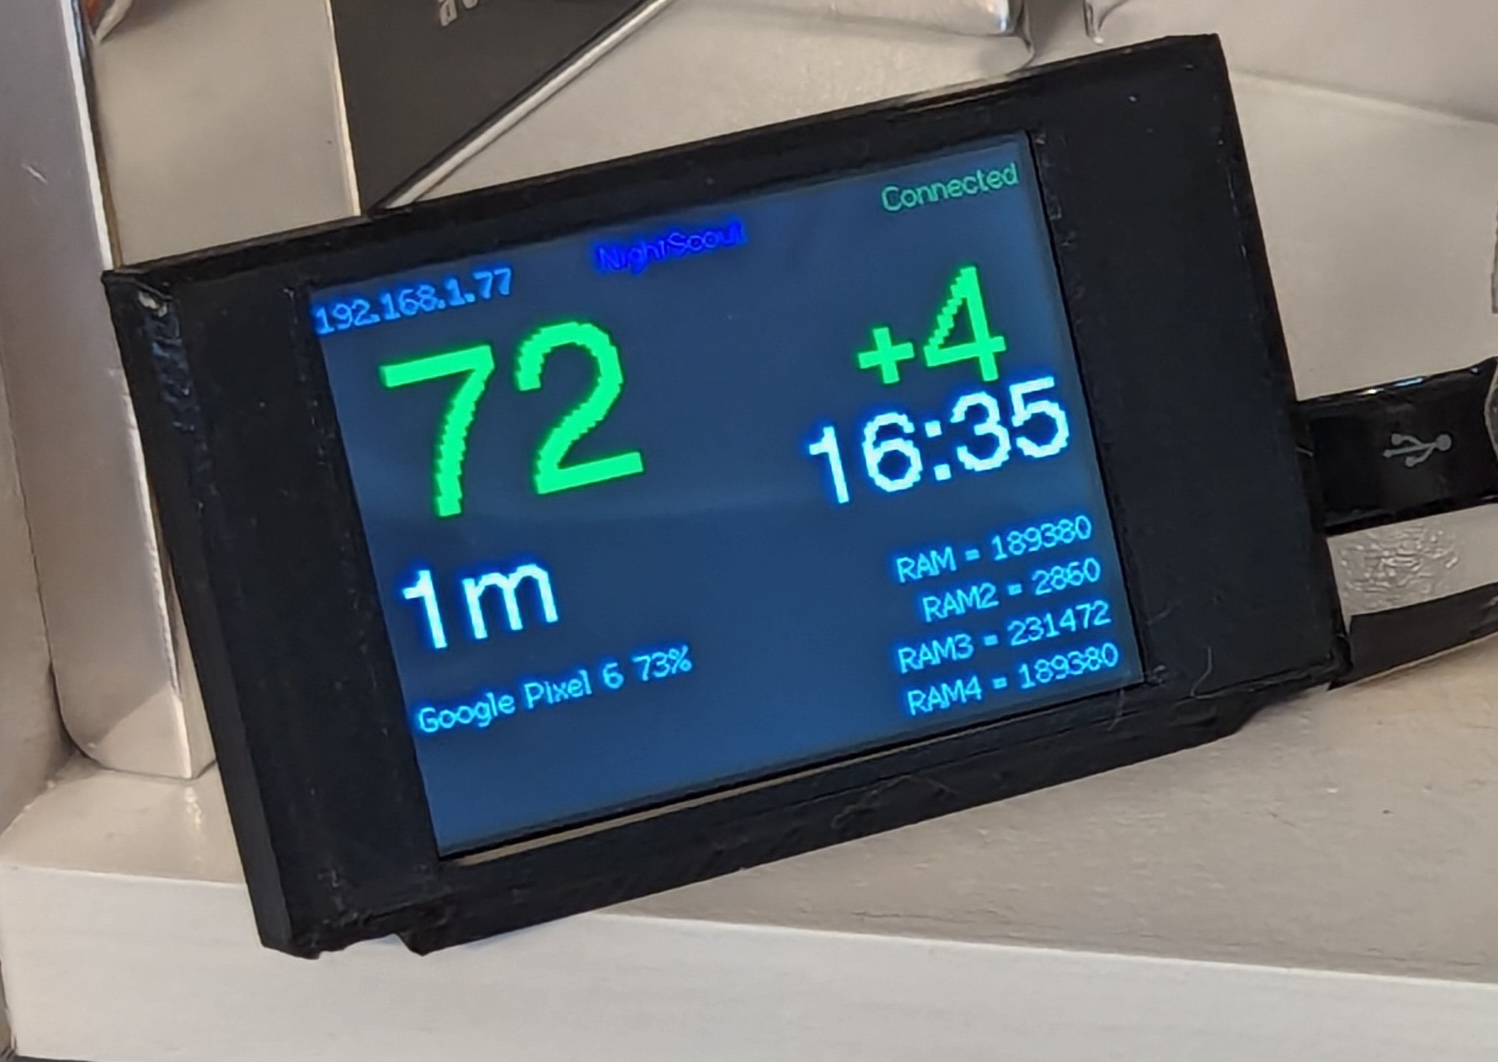
Cheap Yellow Display (CYD)
This is a 2.8" touch-enabled LCD with an ESP32.
Module
It's this Cheap Yellow Display. ESP32, 320×480 resistive touch screen, and an RGB LED in the back to boot. The GitHub repo is linked from the Hackaday post as well.
Enclosure
There's a few on Thingiverse; the one in the picture is this one.
Source Code
On GitHub. As of this writing there's a memory leak and it stops updating the readings after ~24 hours. I'm working on trying to find and fix it (hence the RAM usage in the corner of the picture)
Nightscout
The displays and the dial currently display near-real-time (<1 minute lag) data from Nightscout
Ostensibly most microcontrollers have Bluetooth Low Energy and could communicate directly with the Dexcom G6, BlueJay watch, or even Tandem T-slim X2, though this is not implemented yet. Also, that may interfere with other connectivity, as the G6 can communicate with only two devices - one is generally the pump, and the other would have to be this secondary display rather than a possibly more important device like a phone or watch.
So as of now, the microcontroller requires WiFi to reach the Nightscout server.
Note that as long as the Nightscout server is publicly accessilble, the microcontroller does not need to be on the same network as the uploading device. Therefore it could be used to monitor family, patients, etc. as long as you have access to their NightScout data (read-only access is fine, by default this does not require a key)
To get data into NightScout, you can use any of the methods mentioned here, including:
- xDrip+ app on Android
- Spike or xDrip4iOS for iOS
- Dexcom Share
- TconnectSync though data will be delayed by up to one hour; the patch to shorten this to 5 minutes does not work on recent versions of t:connect